Where to Put a Pulse Oximeter on an Infant
A Parent’s Guide to Placement and Problem-Solving for Pulse Oximeters
Pulse oximeters are invaluable tools for monitoring your baby’s oxygen levels, but using one on a wiggly, restless infant can be more challenging than it seems. From keeping the sensor in place to filtering out false alarms, the process can feel overwhelming—especially when you’re already running on little sleep.
Whether you’re monitoring a NICU graduate per doctor’s orders, tracking recovery from a respiratory illness, or simply seeking peace of mind while your baby sleeps, here are some helpful facts and tips to get the most out of your monitor at home.
I. Understanding Pulse Oximetry in Infants
What is Pulse Oximetry?
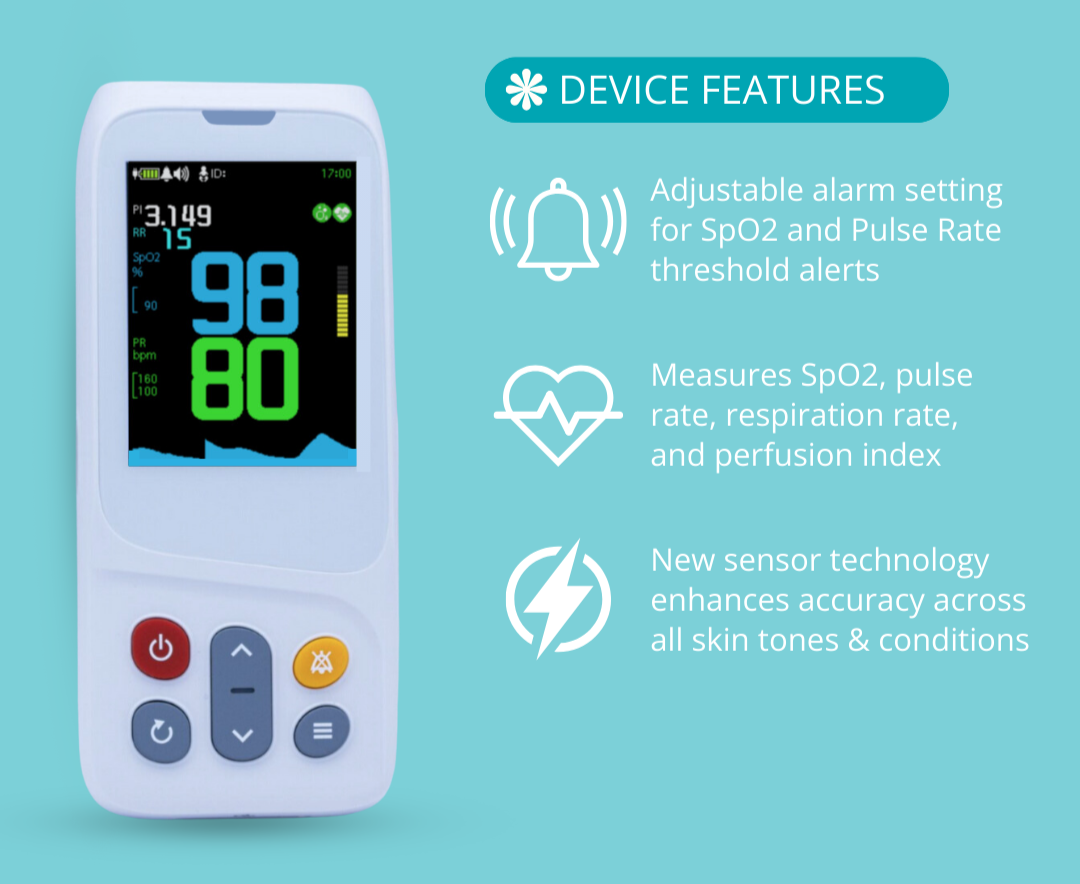
Pulse oximetry measures the percentage of oxygen-saturated hemoglobin in the blood (SpO₂). This reading helps determine whether your baby is getting enough oxygen. The goal is to identify low oxygen levels before they become a serious concern.
For healthy infants, normal SpO₂ levels generally range between 95% and 100%. If levels fall below this range consistently, or if you notice signs of respiratory distress, medical evaluation may be necessary. Infants tend to have lower SpO₂ levels than adults though and vary by individual, so talk with your physician to understand your child’s unique healthy range.
Physical Signs to Watch For
Pulse oximeter readings should always be considered alongside physical symptoms. Movement, crying, or sensor placement issues can cause momentary drops that aren’t cause for alarm. However, the following signs can indicate true oxygen deprivation:
• Desaturation (desatting): A drop in oxygen levels below the normal range.
• Cyanosis: A bluish tint to the lips, fingertips, or skin due to inadequate oxygen.
• Retractions: The skin pulling in around the ribs, neck, or abdomen during breathing—a sign of increased respiratory effort.
• Bradycardia (bradying): An abnormally slow heart rate, which can indicate insufficient oxygen delivery.
II. What Do the Numbers Mean?
The chart below outlines oxygen saturation levels, associated concerns, physical signs, and recommended actions. Again, note that each individual has a different range that is ideal for them, and children tend to have lower rates than adults. Working alongside a physician and weighing physical signs is recommended.

SpO₂ Levels: When to Be Concerned
-
80–84% – High Concern: Urgent situation. The baby may be in respiratory distress. Seek immediate medical attention after verifying the reading.
-
85–89% – Moderate Concern: Possible breathing trouble. Take steps to stabilize the baby and consult a medical professional quickly.
-
90–94% – Mild Concern: Minor irregularities might be present. Keep an eye on the baby, check equipment, and contact your pediatrician if the issue persists.
-
95–99% – Normal: Healthy range. No signs of trouble. Keep up with regular care.
-
100% – None: Ideal oxygen saturation. Baby is breathing well and appears healthy.
Important: If your baby shows difficulty breathing, persistent coughing, or skin discoloration, seek medical care regardless of their SpO₂ reading.
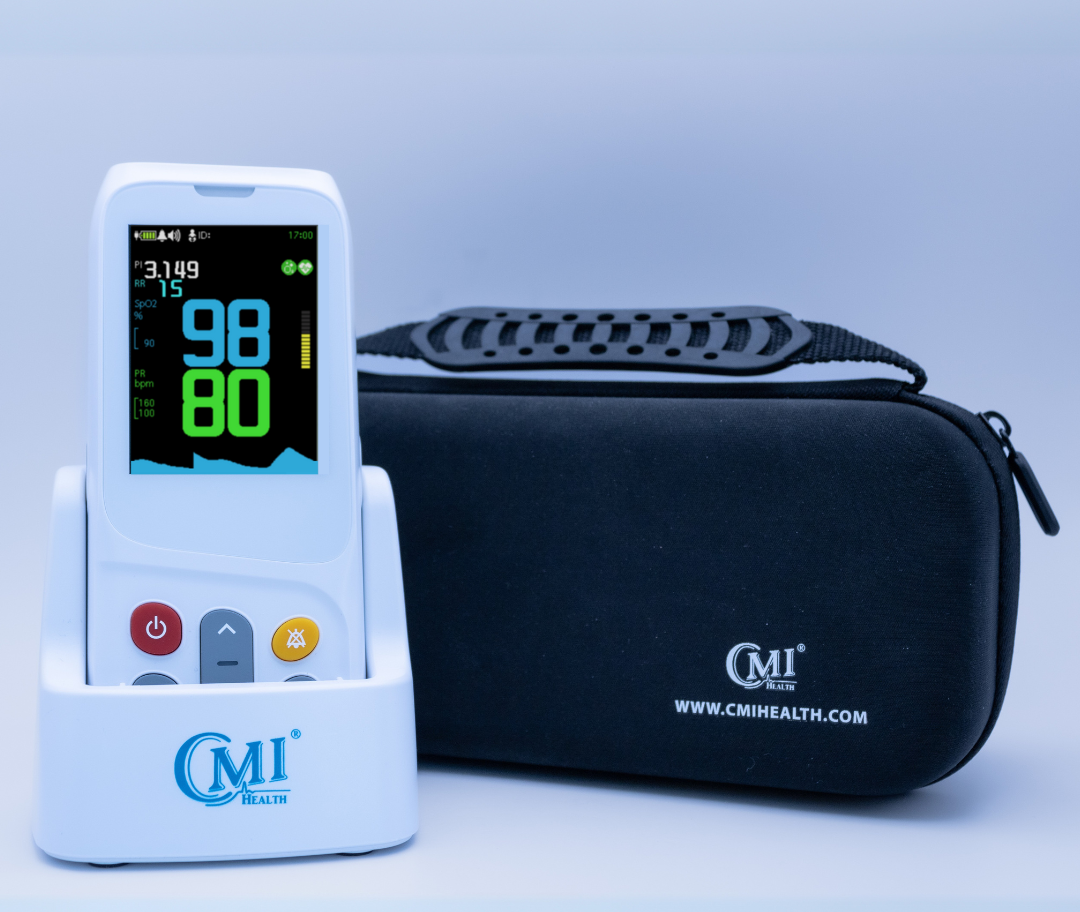
III. Choosing the Right Pulse Oximeter and Sensor
Not all pulse oximeters are designed for infants. The right fit and size make a big difference in sensor placement. Choosing the right device ensures both comfort and accuracy.
Types of Sensors
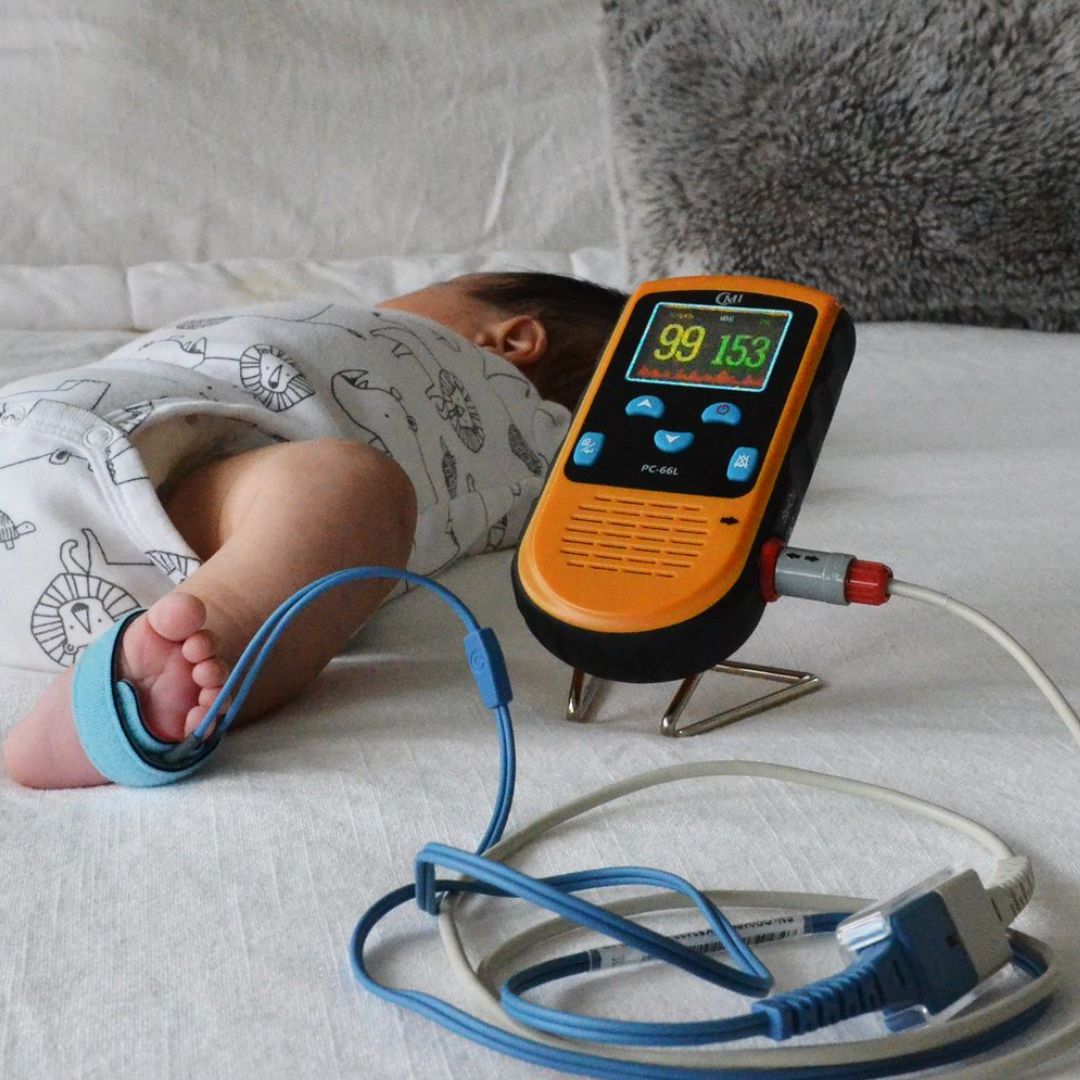
• Infant Foot Wrap Sensors: These soft, adhesive-free wraps are designed for babies under 18 months. They’re often more secure and comfortable than finger clips.
• Pediatric Probes: For older infants and toddlers, pediatric finger or toe sensors provide intermittent readings without needing constant attachment.
• Why Not an Adult Oximeter? Standard adult sensors are too large and may give inaccurate readings. Always use a device calibrated for infants.
For a more detailed guide on selecting the right oximeter in general, please see this article.
IV. Best Practices for Accurate Readings
Although we often find ourselves checking our infant’s levels in the midst of chaos, following a few best practices—when possible—can help ensure more accurate readings.
1. Preparing the Skin and Sensor
• Clean the Area: Wipe the sensor site (toe or finger) with an alcohol swab and let it dry.
Cleaning the area before using a pulse oximeter helps ensure accurate readings by removing dirt, oils, and lotions that could interfere with the sensor’s ability to detect oxygen levels. It also reduces the risk of skin irritation for infants, whose skin is more sensitive. Additionally, if an adhesive sensor is used, cleaning the skin helps it stick more securely, preventing false readings due to poor contact.
• Keep Baby Warm: Cold extremities can lead to inaccurate readings.
We don’t want to overheat our babies, so here are some practical ways to keep cold toes warm without going too far. Keeping the room at a comfortable temperature gives you a good baseline so that you don’t have to add as much to get to the right temperature. Beyond that, dressing your baby in layers can give you flexibility to warm them up or cool them down. Swaddling is also a good method that can allow for adjustments. Skin-to-skin contact and gentle massages can help improve circulation.
If you need a quick fix, apply a warm (not hot) compress like a rice bag wrapped in a towel or a baby blanket warmed in the dryer for a few minutes. You can also lightly rub their feet to stimulate blood flow. Always monitor for signs of overheating, like sweating or flushed skin, to keep them comfortable and safe.
2. Placing the Sensor Correctly
In general, best practices for probe placement include following the manufacturer instructions and securing gently.
For any model, you will need to ensure the light emitter and detector are aligned correctly. Avoid wrapping too tightly, which can affect circulation and accuracy.
Common placements for the sensor include the fleshy parts of the foot and hand, as well as thumbs and index finger. Check the user guide for your specific monitor to ensure the correct placement.
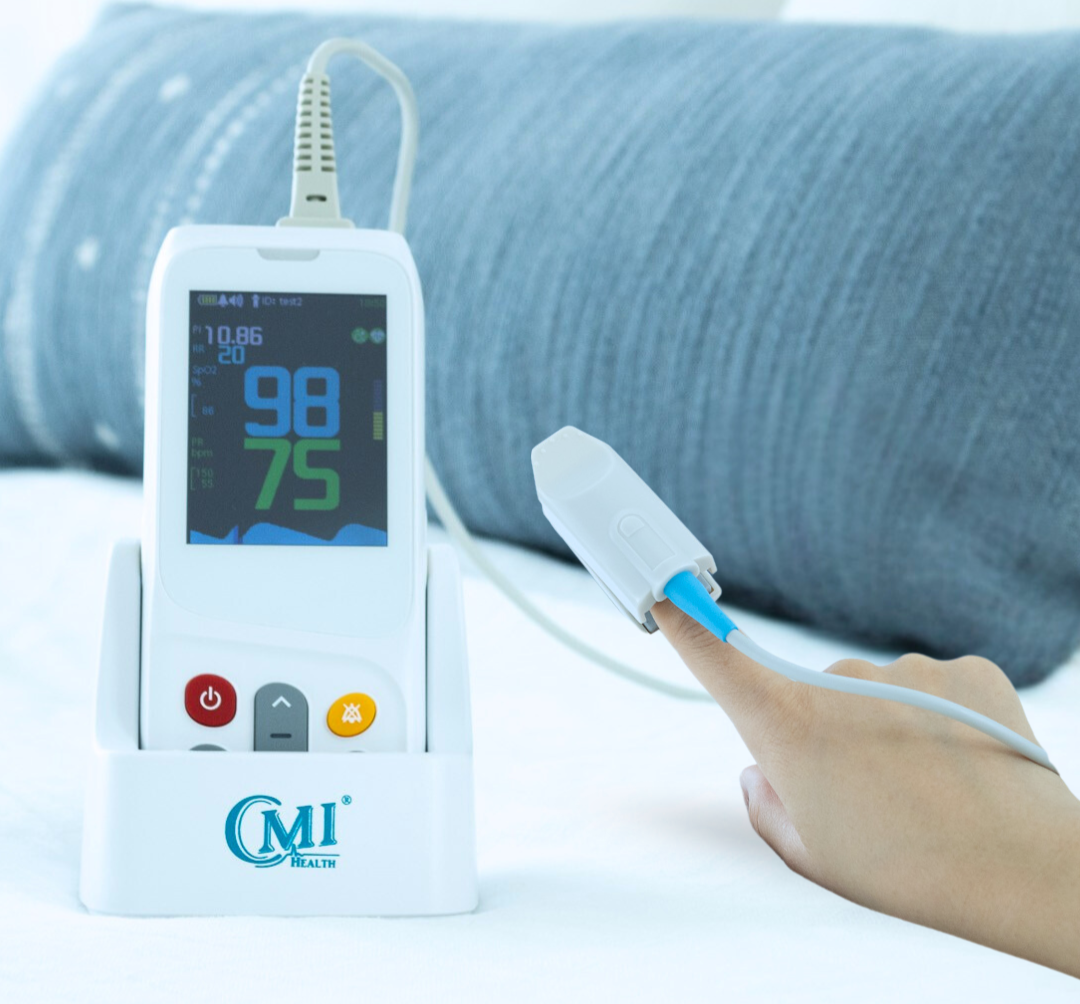
3. Placing CMI’s SpO₂ Sensor Wrap
To correctly place the Infant Sensor Wrap, place the sensors of the Foot Wrap on the outer side of either foot just below the pinky toe. The sensor needs to be touching the skin with its whole surface for best results, so press it against the foot and then secure the Foot wrap with the Velcro strap. Align the sensor cable with your baby’s ankle and secure the Ankle Wrap around it.

Many parents find it helpful to put a sock over the foot to prevent the sensor from moving during baby acrobatics (especially for continuous monitoring). Not all baby socks are created equal, so try to find one that is snug and high up on the leg.
4. Reducing False Alarms
False alarms are stressful and frustrating. And if they happen 100+ times a day, they’re also annoying. Remember to assess the physical signs of your baby’s oxygen levels as well, and contact your pediatrician if you have questions or concerns.
Of course, it helps to minimize movement, so if your baby is especially worked up it may be more productive to help them quiet down and then check their oxygen levels.
Remember that readings can fluctuate due to motion or temporary changes in breathing. If a low reading resolves quickly and your baby appears well, it may not be cause for concern. Infant levels tend to be lower than adults and vary by individual. Contact your pediatrician to understand your baby’s ideal range, as well as if you’re seeing a consistent pattern of low oxygen levels (especially below 90%) or if your baby shows physical signs of distress.
V. A Pulse Oximeter as a Valuable Tool
Using a Pulse Oximeter should help you breathe easily as a parent, while checking to see how easily your baby is breathing. Remember, however, that it is only one of your tools. It works best when combined with a knowledge of physical signs of discomfort in your baby, an open line of communication with your pediatrician, and an awareness of your parental instincts. If you have any concerns about your child’s physical well-being, please call for medical help immediately.


Leave a comment